
After looking around on Pinterest to find tutorials for an Ergobaby style baby doll carrier and finding ones that were way too flimsy looking or way too complicated, I decided to challenge myself and come up with a design that used 1 fat square of fabric and materials that you could easily find at your mega mart. Oh, and a sewing machine too. I actually found a few tutorials on no-sew carriers, but I was hoping to find something a bit more like the real thing because we will be having a new baby in the house and I think both Nathan and Hannah would love carrying around their own babies.
Ideally, I would've liked to use thicker ribbon or straps for the fasteners, but I could only find 3/5" ones at Walmart in the craft section. I decided to just go for it because I had a bunch of 3/5" ribbon at home.
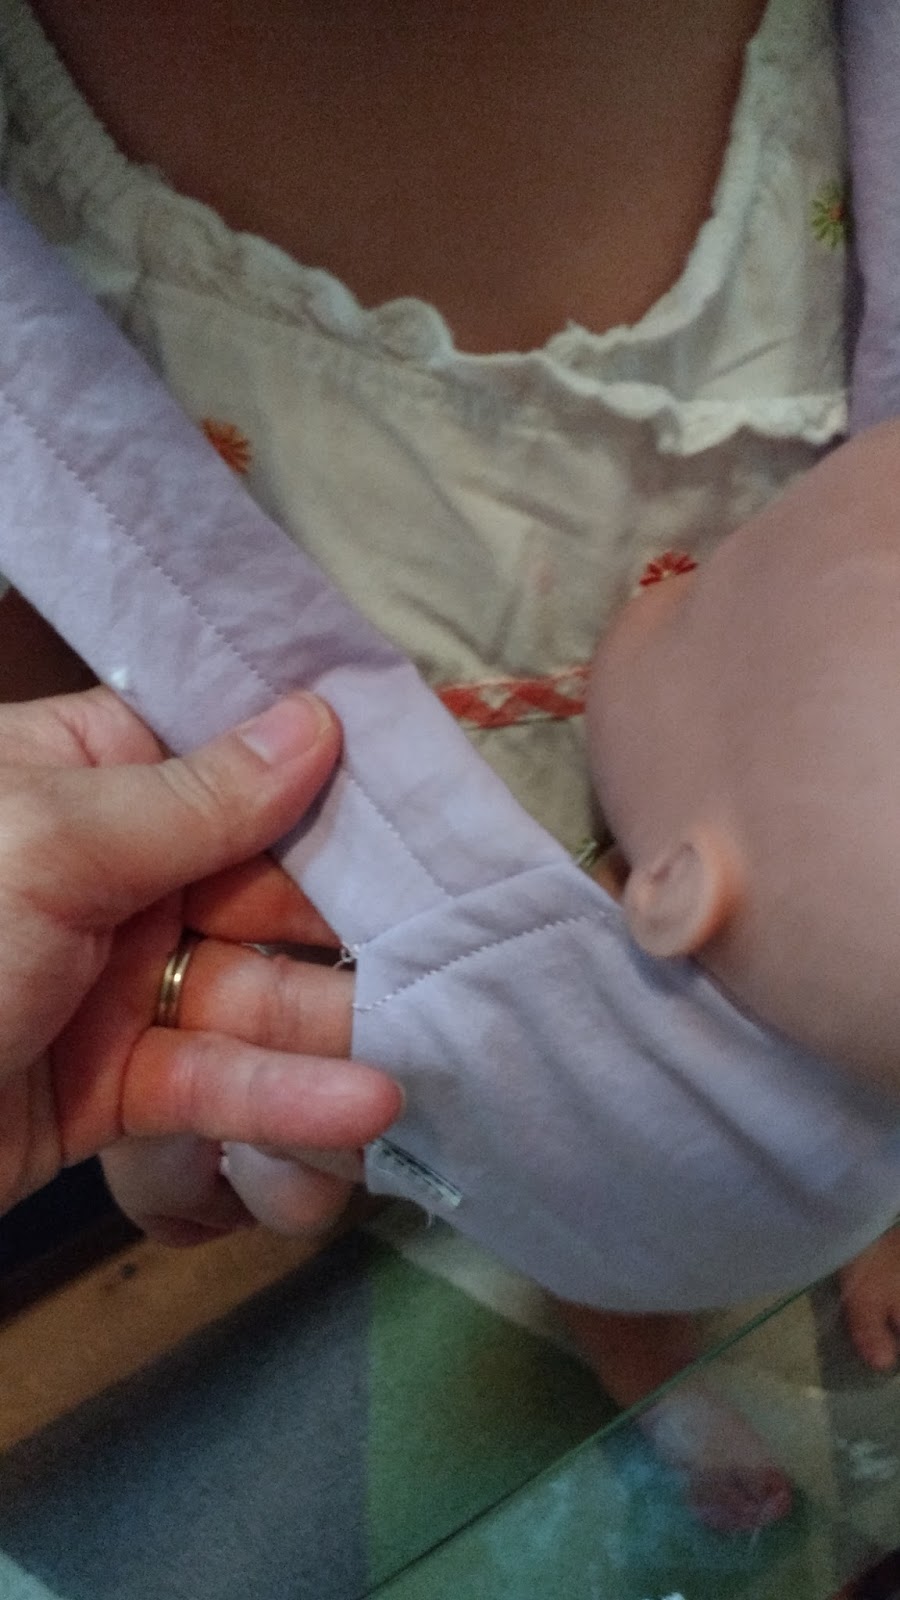
Here's a picture of Nathan with his finished carrier.

Materials:
1 Fat quarter of fabric
45" of 3/5" wide ribbon (or thicker based on your clip fasteners)
2 pairs clip fasteners
Sewing machine, thread and bobbin
Cotton Batting (optional)
1. Cut the fat quarter as pictured below:
- First cut the 8" high piece (on the bottom). This forms the part that touches the baby's back.
- Then from the top, cut 2 strips of fabric 3.5" x 14". This forms the 2 shoulder straps.
- Leave the remaining last piece in tact and simply fold it in half for now (as shown by dotted line). We will work with this piece for the next step to make the waist strap.

2. The folded piece should be close to the dimensions shown below. This piece is folded in half right now, right sides together, and then folded in half again to create a strap that is symmetrical on both sides. With the fold on the right side, make a mark 2" in. (This will be the little flap that sticks down from the main strap).


- (top) 1 piece
- (middle) 2 pieces
- (bottom) 2 pieces.


- At each of the cuts, you are going to turn the right sides facing each other and sew a wedge from the top of the cut to the edge of the fabric.

- In the picture below, the slit that I cut in the fabric is now where the fabric is folded in half. Slit is on the right side, and I'm just going to sew a diagonal line down, ending about 1/3" in from the slit.

- This is what it should look like on the right side of the fabric.

- Complete this for all 4 slits.


- When you are finished, turn the piece inside out and you should have something that looks like this. Measure the width of the edge where the slits were. You will need to save this measurement + 0.5" to get a number. Remember this number.


14. Look at the picture below. Notice that the middle bottom section is not sewed together. The width of the gap should be the magic number that you calculated in step 9. Be sure the gap is centered.


- Place the ribbon down the middle of the strip. Fold the fabric strip in half, and then fold/pin down the excess 1/2" piece you left sticking out.


21. Repeat for the other strap. Use the end of a pen to push out the corners if needed. You should have 2 straps that look like this:


- Flip the back piece down so that the right sides are facing each other. And sew the 2 touching layers of fabric only. (You may or may not want to include the batting).

- You should end up with something that looks like this. You are going to tuck in the top piece and fold down the bottom piece a bit to match the seams. Sew the 2 edges together.

- To clean up this edge, you may want to take a look at where the clip is on the strap and determine a front and a back to the carrier. Fold the top portion down so that the front sides are facing each other and sew a seam all the way across the top edge.

- Once you open it back up, you'll get this nice and clean look from the front.


- Open the straps back up and sew another line below the seam to help the straps lay flat with the part of the carrier that touches the baby doll's back.

25. At this point, find your child, put the carrier on your child and figure out where you need to pin the ribbon to the front of the carrier. For both of my kids it was about 1/3 from the top of the carrier. Pin the ribbon down and sew it securely to the front of the carrier.

26. About 1" from the bottom of the fabric straps, you are going to need to attach another set of clip fasteners. Cut a 4" strip of ribbon for the female end of the clip (like you did for the waist strap) and attach it to one of the straps.


I hope you liked this tutorial.

No comments:
Post a Comment