For our monthly birthing group gathering, I decided to host a gingerbread house making party. Granted, I have never made one in my life, I thought to myself, how hard could it be? Just bake a bunch of big cookies, frost them together and voila! Magical yumminess.
Yes, my three year old decorated this (for the most part...I helped with the frosting decorations and the construction of the house). The candy cane is supposed to be a chimney.

My favorite part of the house may very well be the ginger bread "conductor" with the gigantic lips.

As you can see, the house turned out pretty good. Actually, it turned out way better than I expected, however, the process was long and I learned a lot of things along the way. I will share them here (really, for myself so that I can remember this next year).
1. Give yourself extra time and then add another day. Baking these simple squares took longer than I thought. I made enough cookies to make 5 largish cookies. If you are baking at least that many and don't have more than 3-4 cookie sheets, you should borrow some from a neighbor or something.
2. Bake the cookies for longer than you think. The recipe that I used called to make them for 9-11 minutes. I think for the thickness that I ended up making the cookies, the time ended up being 13-15 minutes. And then on the day of assembly I found that a few of them were still too soft and so I stuck them in the oven set at 250 degrees F. for an extra 10-20 minutes to allow them to dry out.
3. Use a 3/8" thick paint stick to help control the thickness of the dough. Using a large paint stick on either side of the dough, with your rolling pin rolling over the dough as a guide will help you make nice and evenly thick cookies. I actually rolled the dough right on my silicone baking mat and cut the dough by using a template (which I "laminated" with packing tape) and just popped the cookies into the oven. After you take the cookies out, lay the template on top of the cookie and trim the excess.

4. Make your roof thinner than the walls. I'd reccomend 1/4" if you don't want to stand there for 10 minutes, holding up your roof. My roof was too heavy for the icing to hold it. My roof was also pretty steep. If your roof is less steep, perhaps you can get away with a thicker roof.
I ended up setting up a rig with popsicle sticks and a bowl.

While most of the guests were ok with using the glue gun to attach their roofs to their house, one of the dads came up with this genius idea...which actually would've worked pretty well if we had more time for the frosting to set up. If your roof is sliding down, to cut down on the frustration, just use hot glue.

7. Place a glob of frosting on their candy plate. Allow them to dip the candy into the frosting before sticking it onto their house.
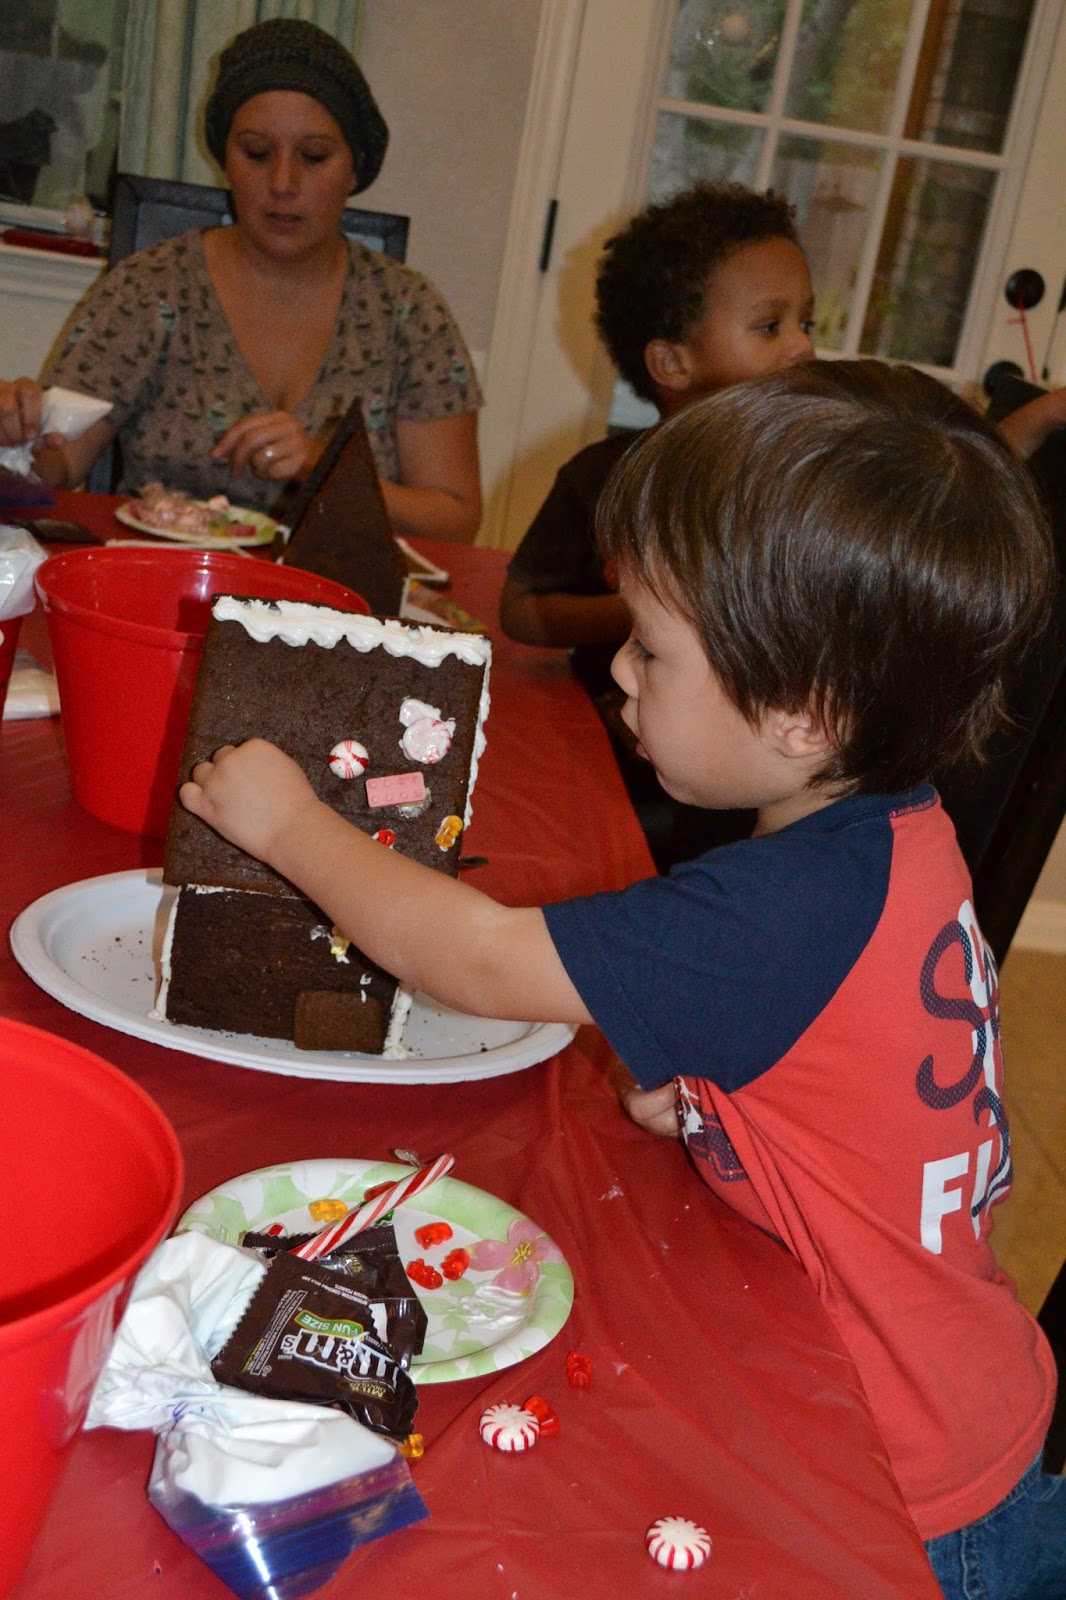
8. Encourage the kids to keep adding candy onto the house. It may at first look like random candies stuck onto a roof (like wads of spit ball), but after awhile, their imagination takes off and you will start to see christmas lights, windows, etc. Nathan's house eventually became a train station.
9. Make sure they are clear about which "house" you are referring to. We had a little girl proceed to stick her first piece of candy onto our dining room wall. Her dad caught her in time. These kids, they can be so literal.
10. Make sure little siblings can get in on the action in some way. I put an un-decorated cookie on her high chair with some sprinkles and she was happy.

11. Let them eat the candy and frosting as they go. I'm usually a sugar nazi when it comes to the kids' sweets consumption, but occasionally I'll let them go crazy. C'mon, it's gotta be tough to have all this candy in front of you and not be able to eat it.
12. Take a picture of the kids with their artwork. The attention span of three year olds really vary. Some of the kids were finished after 10 minutes, and others like Nathan, stayed at the table and decorated his house for 1.5 hours at least. Most of the parents went in afterwards to fill the space with some decorative frosting.

14. Frosting fixes EVERYTHING. Gaps, broken pieces, temper tantrums, you name it. We had gaps due to uneven cookies and roofs that slid down during construction. We had pieces of wall that just broke in half and we were able to just attach them back with frosting. Crying threenagers? Stick some frosting in their face and their frowns get turned upside down. I tell you, frosting, it's like the duct tape of the gingerbread house world.
I had all the families each bring a bag of candy to share and I had bought a few bags from the store myself. Between the 5 families, we had plenty of candy to go around. The most popular ones were M&M's, candy cane, lego candies, and gummy bears. Oh, sprinkles were also a hit.
It was definitely time consuming, but so worth it. I'm confident, though, with these newly learned lessons, it will go much faster next year.
Sounds fun!
ReplyDelete